
Step one of installing a new graphics card involves verifying its physical compatibility within your case, followed by making sure your power supply can supply enough wattage to power it.
The card will easily slide into a PCIe x16 slot on your motherboard, featuring a little latch that retracts to allow entry and clicks into place when properly secured.
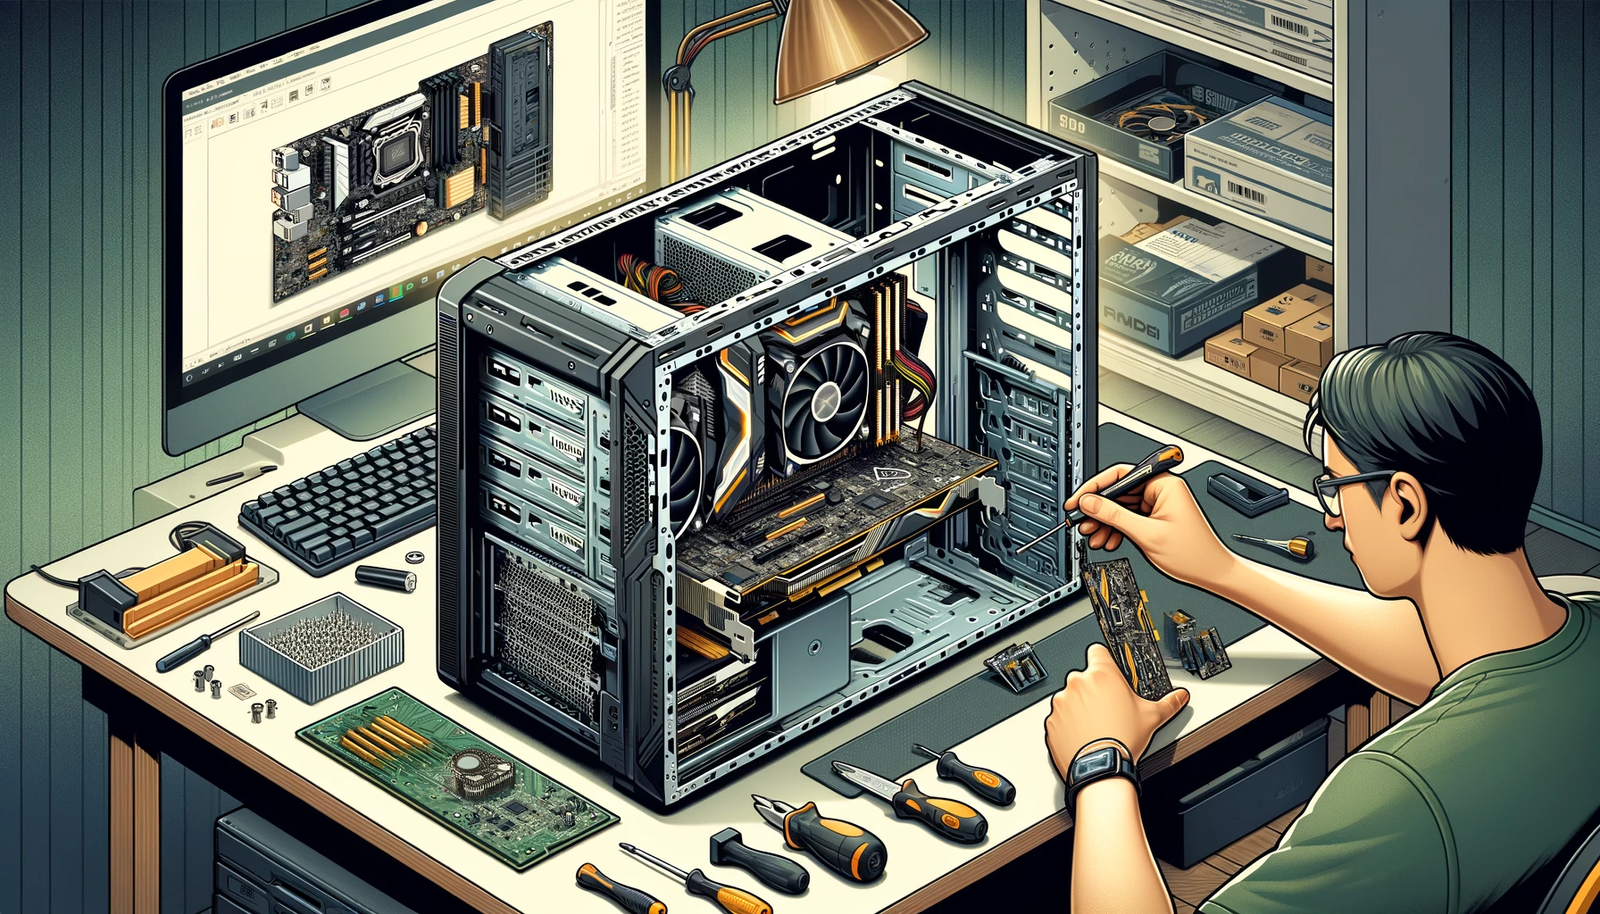
Removing the Old Card
Before installing a new graphics card, it is necessary to uninstall the old one. Start by turning off and unplugging your computer from its power source; open up your case, carefully disconnect any cables or connectors attached to the old card (using a screwdriver if necessary), locate its PCIe slot on your motherboard, unscrew or unclip it, then remove gently while taking care not to damage its gold connectors.
Once the card has been extracted from its case, you can begin installing its replacement. Before starting this process, however, it’s a good idea to test your new card on your monitor – making sure you have an appropriate cable connected and that the monitor can see your new card as well as that its video output supports what type of output your monitor requires (usually HDMI or DisplayPort but could also include DVI or VGA although you’d need an adapter that converts two eight-pin connections into a twelve-pin connection).
Once you install your new card, please restart your computer and reopen its case. Align it with one of the back panel slots before removing any covers obstructing PCIe slots (this could include metal plates on either side or plastic covers that cover them – beware of installing in an already occupied slot as this could cause issues like drivers not functioning or poor performance).
Once this step has been completed, remove or unclip the graphics card from its retention bracket on the rear of your case, as well as any screws holding back any covers to it (if applicable). Remove any wires obstructing access to where your old card resides before pushing down on its latch at its end – which may require using a screwdriver or similar tool, as this step can often be difficult with just fingers alone.
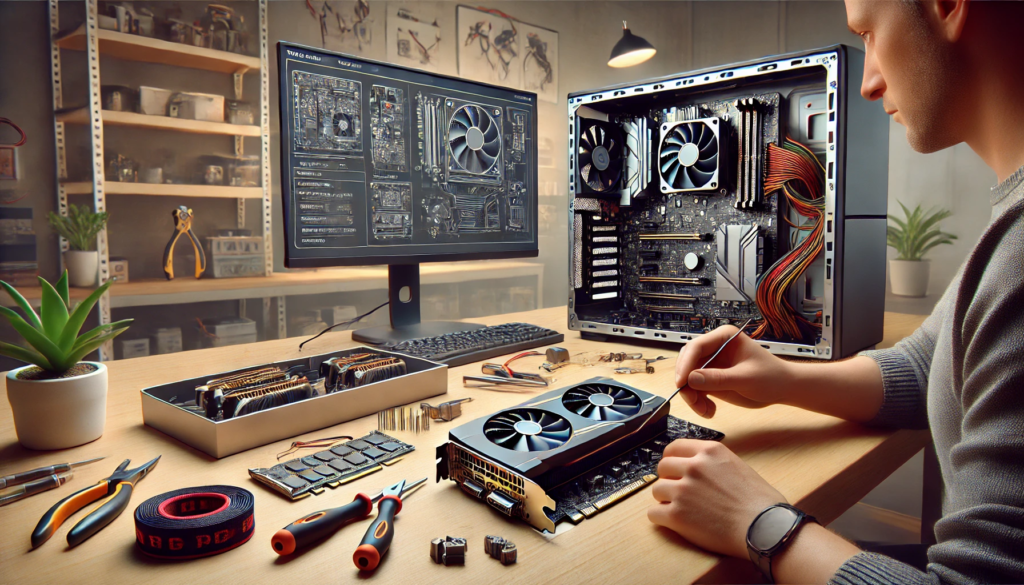
Installing the New Card
Depending on the GPU you are installing, it may need to connect via six or eight-pin power cables. Find the appropriate connectors on the back of your new card and plug them in; check that all are occupied, as this could require adapters to change from one style of connector to another.
After placing the new card securely into an open PCI-E x16 slot on your motherboard, remove any case screw covers obscuring these slots if necessary (most modern cases will allow access with a thumbscrew; older cases may need a Phillips-head screwdriver). Secure its metal retention bracket using any remaining screws from your old graphics card for maximum stability.
If you need clarification about whether your new card will physically fit, check its manufacturer’s website or use a tape measure to get an accurate measurement. Some high-end cards can span over a foot long and two or three expansion slots wide – make sure you have enough room!
Your PC’s power supply may need to support the new GPU properly or have enough wattage and connections for optimal operation of its new card. If this is the case for you, upgrading to a power supply with more wattage output or purchasing an adapter to change existing PCI-E connector ports to ones compatible with it may help solve the issue.
Once all the hardware parts have been assembled, installing software drivers is time. These files communicate between your operating system and the new graphics card; proper installation is key to enjoying buttery smooth framerates from your new card. It should also be noted that drivers may need updating periodically to improve performance or support new features.
Connecting the Power Supply
Before installing your new graphics card, you must ensure your power supply can support it. Some high-end cards can exceed a foot long and two or three expansion slots wide; you must ensure your power supply has enough physical room. Check your card’s packaging for any indication of its dimensions; this should show how much room may be required.
Once the card is out of packaging, remove any plastic wrap (if applicable) and carefully position it over an empty PCI Express slot. You may need to gently rock it back and forth until a click indicates its proper positioning; doing this also ensures the screw attached to its backplate is in the appropriate spot.
Next, connect the card’s one or two 8-pin power connectors to the power supply. These are typically found on the rear of the card and should have notches that connect to slots on its motherboard ports, ensuring that each 8-pin connector receives sufficient power for optimal functioning of its card. Once this step has been completed, continue to step 3.
Some cards feature connectors integrated directly onto them and may not need to be connected directly to your motherboard; nevertheless, it is always wiser to be safe than sorry and follow manufacturer recommendations.
Once all power connections have been connected, reattach the card’s backplate and tighten its screws firmly to secure it before closing up your case and connecting any remaining cables to your monitor.
After completing all these steps, it is time to reboot your computer. Your operating system should recognize your new card and configure your monitor appropriately for its capabilities. If, instead, your monitor displays jagged-looking images when booting up, this could indicate either that it wasn’t configured correctly or doesn’t have enough power.
Connecting the Monitor
As part of any new graphics card installation, you must understand what kind of power consumption it will require from your system. This will enable you to ensure it will work with your computer and other hardware and find one suited to your specific needs. For instance, if you enjoy playing video games, look for cards with high onboard memory and increasing rendering and encoding speeds. In contrast, graphic designers might need something with multiple display connectors like HDMI, DVI, or DisplayPort, offering high-quality video output.
Installing can begin once you have selected and confirmed that a card fits your case. Remove the protective panel from its slot in your case before inserting the new card and securing it using screws included with it or brackets attached to its back (if applicable). Afterwards, connect its power supply (most cards come equipped with at least one PCI-E power connector port as standard, although older cases may require adapters for optimal functioning).
If your old motherboard only offers one x16 slot for GPUs, ensure any new card can fit. Most modern GPUs are optimized to use in these nearer CPU spots on a motherboard.
Finally, connect the monitor to the new graphics card – HDMI or DisplayPort is ideal, though DVI or VGA will work too. Ensure the connections match (the new card may require different connectors than your monitor). After connecting everything successfully, turn on your PSU and restart your computer.
All your connections must be correct at this crucial stage of any hardware change. When everything has been connected properly and plugged in securely, your computer should boot up normally and display on its monitor – otherwise, it’s time for troubleshooting!