
RAM (random access memory) plays an integral part in your PC’s performance; whether gaming for smoother gameplay or seeking to increase productivity, memory upgrades are an effective solution for giving your system the boost it needs to reach new heights of performance.

Before installing RAM, ensure it is compatible with your motherboard, then follow our step-by-step DIY guide to unlock its full potential:
Removing Existing RAM
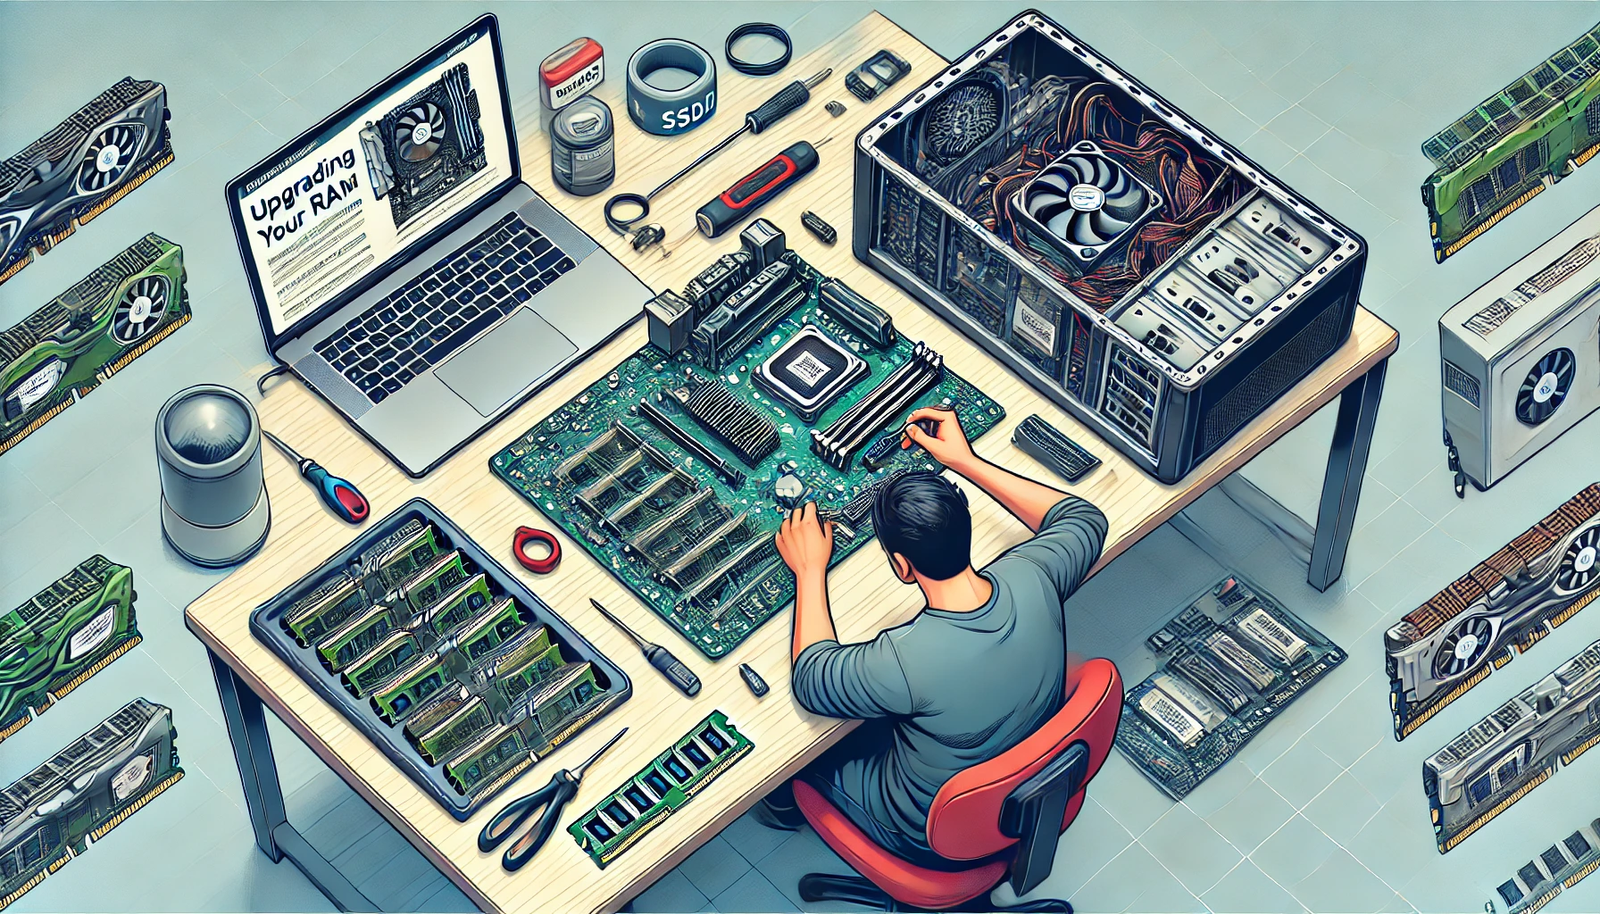
Upgrading your RAM is a straightforward and cost-effective way to enhance its overall performance and productivity, whether that means smoother gameplay for gamers or faster processing speeds for professionals. A RAM upgrade could make all the difference!
Before installing new RAM modules on your PC, any existing ones must be removed to make room for new ones. An effective way of doing so is shutting down and unplugging any cords or cables connected with it, then laying it flat with the motherboard facing up on a flat surface with the case open and RAM slots visible near the CPU socket – usually long rectangular slots located near them – which must then be identified on motherboard designs with retention clips or levers to access these slots.
Once RAM slots are exposed, locate and press down on each module’s tabs at either end. If any resistance arises during this process, apply more pressure until the module pops out from its slot and can be pulled straight out – being careful not to damage any gold contacts on its side!
When replacing RAM of the same type, ensure each new module contains a notch that aligns with the divot in your motherboard’s DIMM slot – otherwise, it may not fit correctly and must be turned around. You should also ensure that new RAM sticks match up exactly with existing ones to maximize compatibility and avoid errors that could prevent your system from booting or running correctly.
Once all your purchasing considerations have been resolved and you have your new RAM modules, it’s time to install them! While the process itself should be fairly quick and painless, it’s essential that all steps be followed precisely for best results and not damage either your motherboard or RAM slots. Shut down and unplug any cables/cords before opening your laptop/desktop case; use a screwdriver (depending on its design, this could require either a Phillips-head or cross-head screwdriver) to unscrew any screws holding onto RAM access panels/bottom cases before lifting the lid – then lift the lid to release RAM modules into their slots!
Installing New RAM
Upgrading your RAM is an economical, efficient way to enhance performance and productivity for PC gamers and professionals, whether looking for smoother gameplay or faster processing speeds. While opening up your laptop or desktop PC and working on its internal components can pose certain risks, with the proper knowledge and tools you should be able to avoid any potential issues during this process.
At first, you must assess how much RAM your system has installed. Depending on your OS, you can use different built-in utilities; Windows’ Task Manager features an excellent Memory tab to show how much memory is currently free and what percentage is being utilized by programs running on your computer.
After reviewing your system specifications, purchasing RAM that meets them will be the next step. You can do this online or at a computer store; either way you must read through manufacturer documentation or contact them for compatibility information before buying RAM that matches its form factor and voltage of existing memory modules.
Once you have the new RAM in hand, the next step should be installing it. On desktop computers, this often involves sliding back or unscrewing and screwing back the RAM access panel; laptops may require opening the case and taking additional steps, such as taking outside panels or bottom casing panels, before beginning this step. As before, ensure all cables have been disconnected before taking this step.
Locate any available slots on your motherboard, usually identified as A1, B1, A2 or B2 on its front. When inserting RAM sticks into these free slots, line them up so that their notches and dimples line up with those found in these slots and push gently but firmly until a clicking sound and latches snapping sound can be heard and felt in each one. When installing additional RAM sticks into these free slots, repeat steps 1 through 4.
Checking for Compatibility
No matter your gaming or multitasking needs, more RAM can make an important difference in performance. But not all RAM upgrades are equal and you must choose one compatible with your motherboard to avoid future complications.
Installation of new RAM can be straightforward, but to ensure optimal results, certain safety measures must be taken to prevent damage and injuries. Before beginning, shut off your computer, disconnect any external devices, including power cables and hold down the power button on your case for several seconds to discharge any static electricity.
Once this has been accomplished, uninstalling and replacing old RAM modules with new ones can begin. It would help if you started by finding RAM slots, which typically consist of long, narrow sockets with clips at both ends; carefully disengage these clips before gently extracting your old module without damaging or bending any components within your computer.
Next, install your new RAM module into one of the open slots by aligning its bottom notch with the ridge in its slot – when properly seated, the side clips will click into place to secure it and keep the RAM from moving inside your PC. Repeat this process with all remaining slots before installing your side panel back onto your PC and reconnecting any external peripherals.
Once your RAM upgrade has been installed, please reboot your computer and run any necessary diagnostic tests to verify its success. When all is satisfactory, stand back up your desktop or laptop and enjoy its improved performance!
Reinstalling
Over time, operating systems like Windows and software like Photoshop have grown increasingly memory intensive. Opening multiple tabs in Chrome or other software can quickly deplete all available RAM on an older PC and bring its performance down significantly. Installing additional RAM will increase its speed and capacity, helping it handle more tasks simultaneously while running faster.
First, shut off your computer and unplug any cables connected to it before opening its case. PC towers typically offer easy access to RAM slots through removable side panels, while laptops often utilize a RAM access door secured with screws. Inside the computer, gently push outward on retention clips or levers on RAM modules to uninstall them from its memory slots.
Before installing new RAM modules onto your computer, it’s advisable to consult either your motherboard manual or system information tool for specific instructions on identifying RAM slots (also called DIMM slots) on it. Each contains labels describing its type, speed and capacity – correctly installing RAM into these slots ensures its full operational capability.
Once you understand how to install RAM correctly, the process is relatively straightforward. Locate your motherboard’s RAM slots – usually long rectangular slots near the CPU. Each of these has a notch and break that correspond with each new RAM stick’s notch; insert this by aligning its notch with its respective break in each slot before applying even, firm pressure to both ends until all clips snap securely into place.
Repeat the upgrade process with any additional RAM modules you wish to upgrade, and once complete, power on your computer and verify the new RAM is working by checking its total memory capacity via an operating system tool or another system information utility. If any issues arise with your new RAM configuration, please contact either your hardware vendor or PC manufacturer for further assistance; additionally, it would be wise to ensure your power supply can handle additional loads caused by the new RAM configuration.