
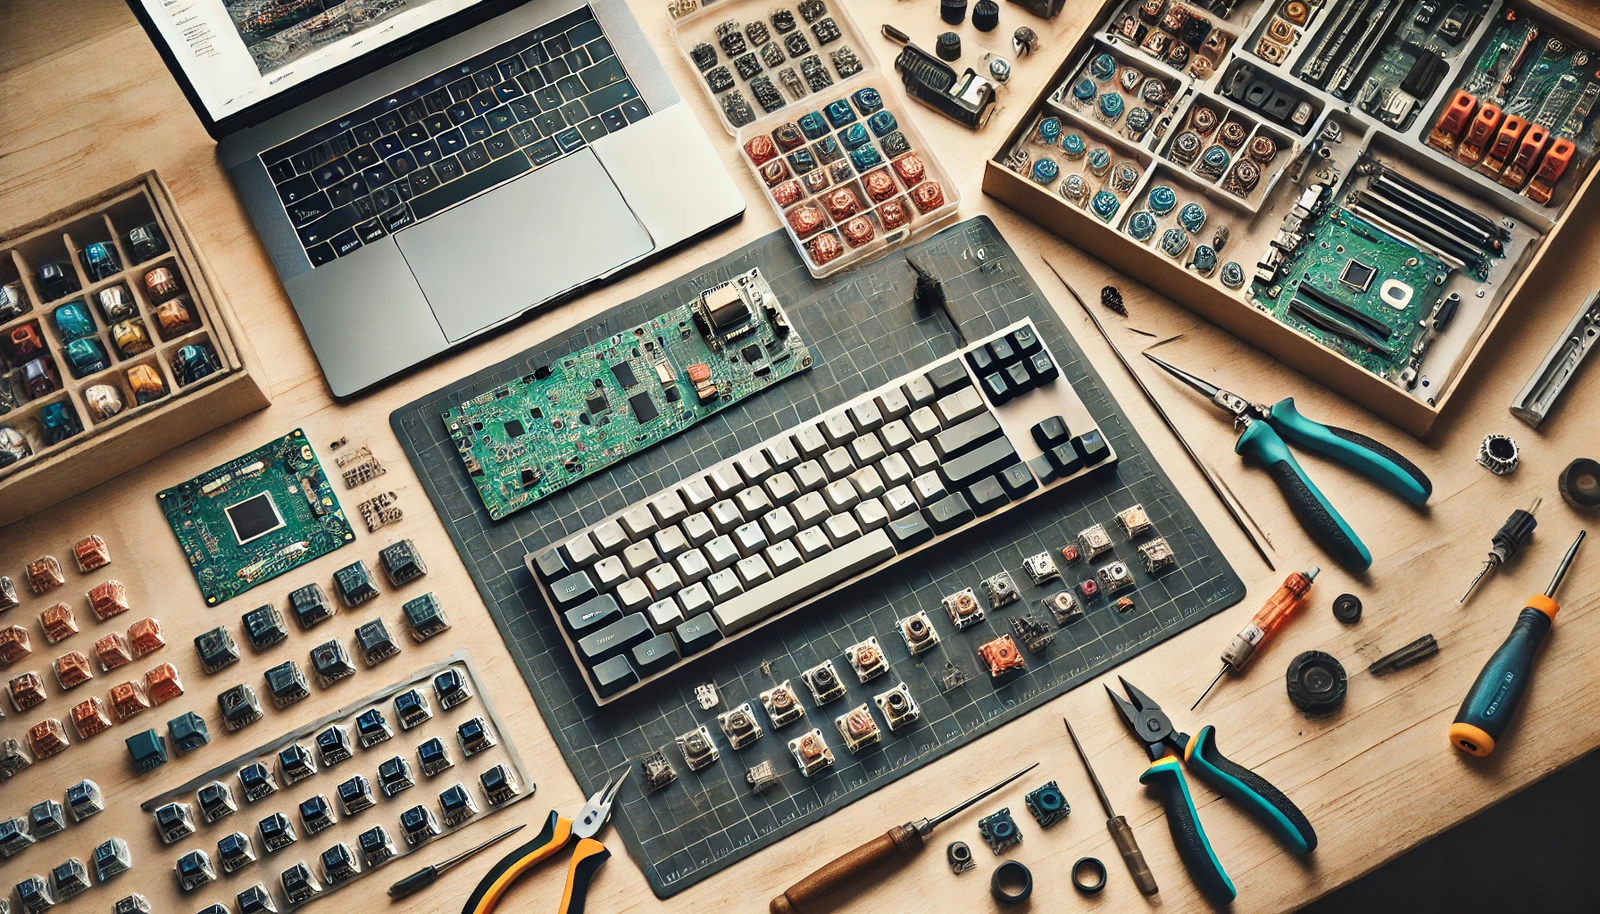
Keyboards consist of many moving parts to form their entirety. This includes the PCB (printed circuit board) that registers input, a plate to hold switches, and stabilizers to support larger keys and switches.

Before installing switch plates, it is highly advised to clip and lube stabilizers to decrease rattle when pressing larger keys significantly.
Parts
Keyboards consist of several essential parts, with the PCB (printed circuit board) being an integral one in size, features, layout and communication with computers, allowing macro programming and RGB lighting effects. A case protects everything inside while keeping everything together – you can personalize its design or material choices!
The plate is the component that sits between the PCB and switches and can be composed of aluminium, brass or steel; it provides a more rigid feel for keyboard typing while altering how larger keys feel to type on. Stabilizing feet are sometimes added to support taller profiles that feature larger keys.
Switches give keyboards a unique feel and sound, often differing in depth and resistance. There are three primary types of switches: linear, clicky and tactile.
To complete your build, additional parts will be needed, such as stabilizers, keycaps and screws for installation. A brush, lube and screwdriver kit may also come in handy to prepare stabilizers for lubrication.
Follow this video from keyboard content creator Taeha Types to clip and lube stabilizers properly to reduce rattle and make larger keys feel better when typing. Failure to take this step may cause them to clang against each other and become hard to use.
Layout
As part of your custom keyboard layout, it is essential to make several important decisions. First is which plate material and style to put your switches on (layered, CNC machined, or 3D printed are options); next is selecting which stabilizers you would like (such as screw-in or snap-on ones for the space bar and enter keys); lastly is selecting whether screw in stabilizers will provide more stability but this is not always necessary.
Once you have assembled the stabilizer stabilizers, it’s time to create your keyboard. A hot-swap PCB can make assembly fast and straightforward; however, standard ANSI layouts without features such as split spacebar are limited. Soldering is another option which offers greater customicustomizationquires special skills and tools.
Lubing your stabilizers is the final step, improving the typing experience by decreasing rattle in larger keys and noise levels. You can do this by clipping off each foot from each stabilizer, nail clipper, or flush cutter – it may help if done step-by-step for best results! Once all stabilistabilizerseen lubed, they can be assembled into your custom keyboard!
Case
Cases are essential in mounting and protecting a keyboard from damage, with various materials and shapes to meet different requirements. Considered essential features in choosing an ideal case are acoustic performance, comfort and aesthetic qualities.
Once you’ve selected a case, the next step in building is selecting a PCB (printed circuit board). When choosing the size and configuration for your case and switches you select, this step can often prove challenging for new builders. A good way to start building is to view some example builds online – Brian Phillips of BadSeed Tech and Alexander “Alexotos” Medeot are two creators who specialspecializetom keyboard builds on YouTube with videos and reviews to assist in making an informed decision.
Once you’ve created a PCB to suit your case, the next step is installing the switches. This may involve soldering or hot-swap sockets; either way, test each set of switches again to ensure everything functions as intended before finalisfinalizinglation.
If using hot-swap sockets, the large centre mounting pin on each switch must align with its corresponding cutout on your PCB to ensure they snap into place securely. When soldering PCBs, it is equally essential to follow the instructions provided in your kit to ensure all switches are soldered properly to the board.
Once the switches have been tested and installed, adding some foam for improved acoustics and comfort is a good idea. Rubber feet also help increase stability by keeping your keyboard from sliding around on your desk surface.
Switches
Selecting the appropriate switches is essential because they interact directly with keys and send a signal back to your computer that one has been pressed. There are various kinds available; take time to educate yourself on them before selecting what best fits you.
The two most prevalent types of switches are linear and tactile. Tactile switches offer a harder feel with more feedback for gamers or anyone typing frequently. In contrast, linear ones have a lighter feel with faster typing rates but may become boring over time unless lubricated regularly.
Once you’ve selected and soldered on all the switches, double-check to ensure they all function as intended before proceeding to step 6. If so, move on to step 6.
Now, it is time to install the keycaps. Keycaps add an aesthetic quality to a keyboard and can come in various colours, height profiles, materials and sculpted or uniform tops, which may affect how they feel to type on. Some even feature sculpted or uniform tops that look nice on any desk!
Keycap selection should also take into account their actuation force requirements. Some require more pressure when pressing, which could strain fingers over time; other switches require less force, “bottoming out” faster to indicate that keys were pressed but did not register with your computer, providing instantaneous feedback that something is amiss.
Key stabilizers are necessary but mundane. They sit beneath wider keys such as shift and space to distribute your finger’s weight when pressing them, making them easier to press. They may be lubricated before installation to make pushing easier and help prevent mis-presses.
Keycaps
Your keyboard consists of three major parts: its PCB that communicates with your computer, its plate that holds switches in place and keycaps that cover them. For the best experience with your keyboard to look and sound its best, make sure the right parts fit your case, layout and switch type; these will ultimately define its look, feel and sound characteristics. Unless using a hot swap PCB, you may also require key stabilizers (if applicable).
As part of any kit purchase, it is often essential to prepare the switches properly. Most kit vendors will include instructions or online guides regarding this step, which typically involves lubricating and cleaning each switch individually before lubricating again later. In some instances, enthusiasts might take this opportunity to remove foam or rubber padding from switches; however, this should only be done at your own risk as this could alter how your keys feel and sound.
Once your switches are assembled, the plate should be assembled plates are constructed of plastic or aluminium and come in various colours, shapes and materials. They also each come with their mounting style – direct attachment or dampened contact will typically provide a firmer feel than flexible gasket mount systems, which use dampeners between plate and case can offer more flexible results.
At this point, connect your board to a computer and test its switches. Ensure all switches click into place, illuminate when pressed and remain illuminated when not used; any that don’t function correctly should be repositioned or replaced immediately.