
Make a temporary fix for a cracked phone screen using packing tape! Apply it carefully onto its display for optimal results.
Safety and technical skills should always come first when repairing your device. You could damage internal components or create more problems if you attempt to do it alone.
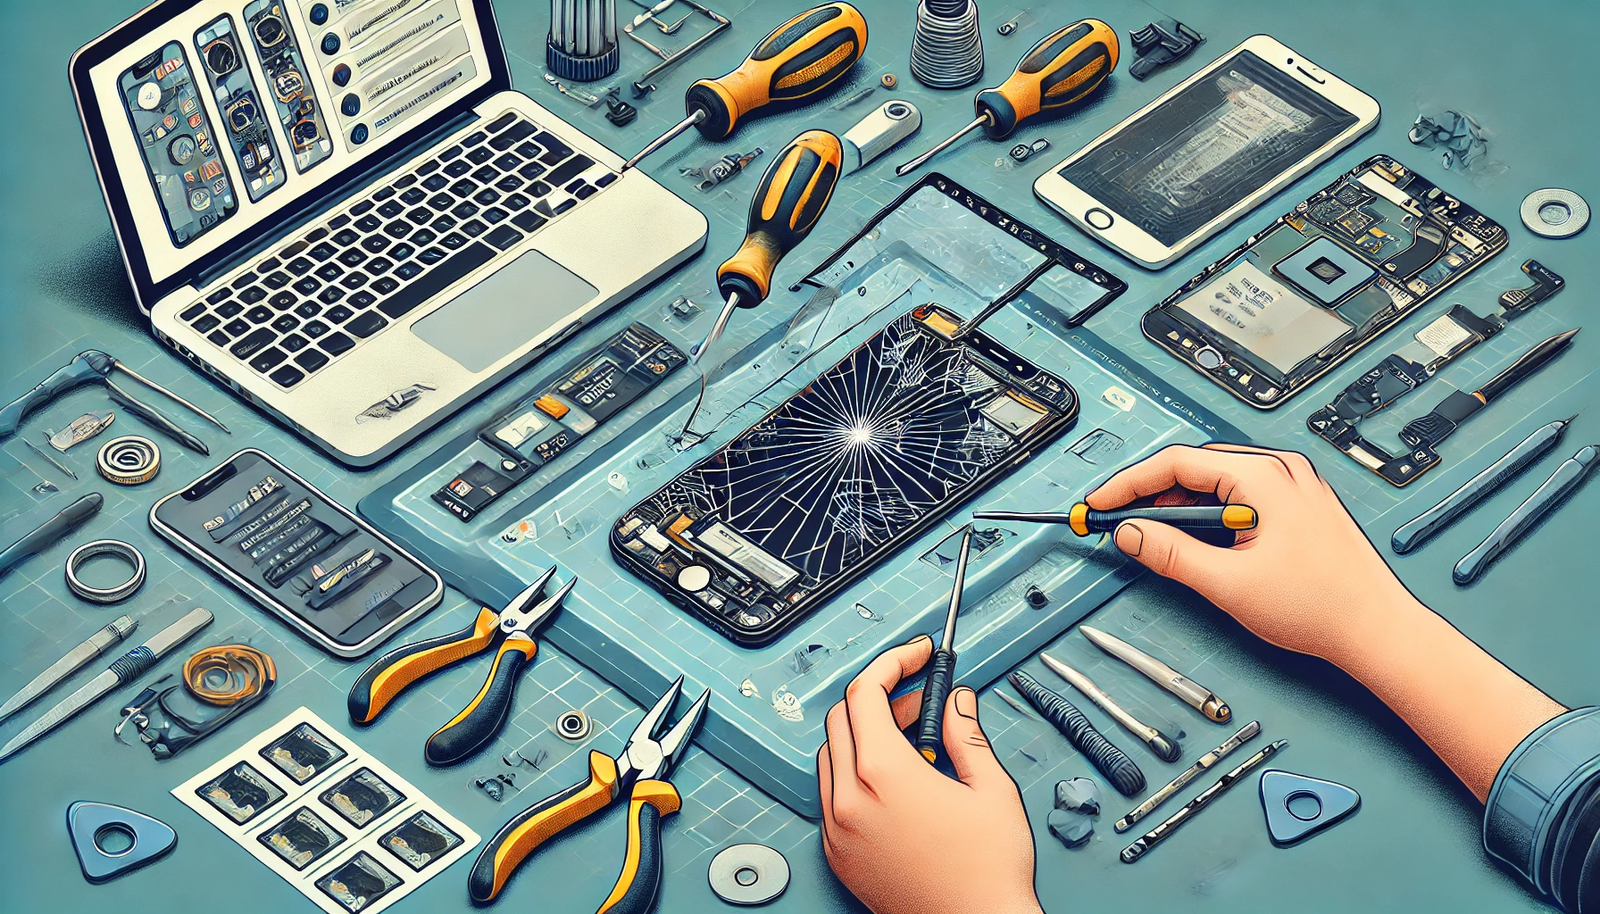
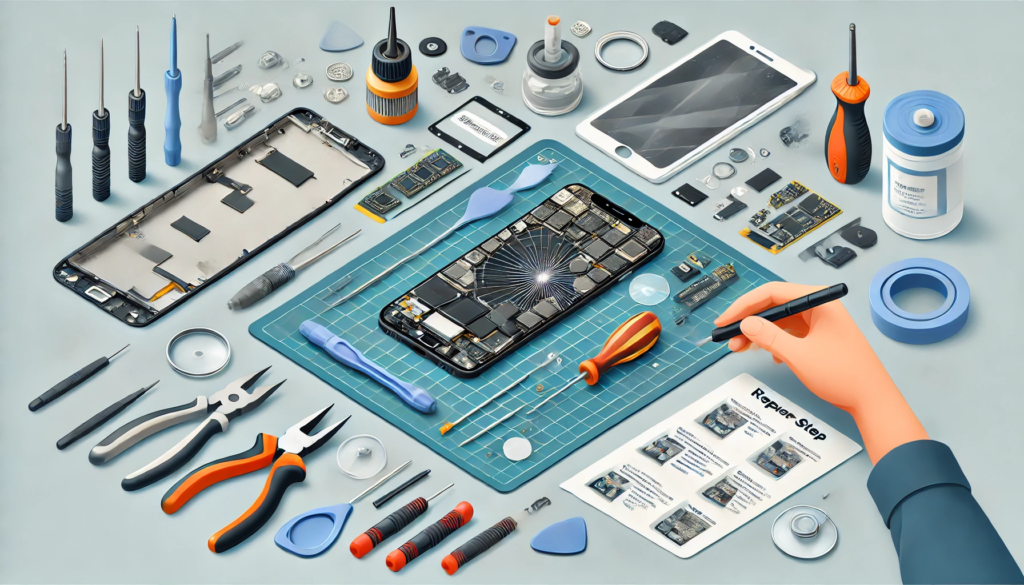
Removing the Screen Panel
Some may be tempted to attempt the DIY repair of their broken smartphones. While this may be possible in certain circumstances, trying this may result in additional damage and make getting it working again more challenging than expected. Also, DIY repairs can become increasingly expensive when tools or online tutorials for specific phone models must be purchased for repairs.
Cracked smartphone screens are one of the most frequent issues with mobile devices, though most can be repaired easily. It is advised to replace it as soon as possible to minimize further damage and ensure the proper device functioning.
Cracked screens can do significant harm to mobile devices if used continuously. Their sharp edges may cut or cut your fingers, and you could experience other issues like dead pixels and no backlight. All these issues make viewing your screen difficult and may even lead to permanently losing functionality in your device.
Applying clear nail polish over cracked screens on your phone is a quick and cost-effective way of making it look better, yet it doesn’t protect from further damage or reduce their visibility on screen. Unfortunately, nail polish doesn’t last very long either and may flake off or chip quickly.
Cracked screens often occur from direct contact with something heavy, whether placing something heavy on or sitting on it while it is stored in your pocket or bag or bumping it against other objects. A screen protector is one of the best ways to avoid such damage to mobile devices.
Before sending off your device for repair, it is a good practice to factory reset and backup all data before shipping it off for repair. You can do this by tapping on the Settings app and selecting either “General management” or “Backup and reset”, depending on its capabilities.
Disconnecting the Display Cable
When fixing a smartphone screen, visiting a certified repair shop is best. Contrary to what might have been posted on TikTok, ramen noodles and toothpaste do not make for adequate repair of smartphone screens; any wrong move could cause extensive and costly damage; moreover, risking its resale value by trying to fix it yourself may not be worth your while.
As part of repairing a cracked cellphone screen, the first step should be removing the display panel from its frame. To do this:
- Heat the panel until its adhesive softens, and pry its edges with a tool.
- Begin at one side and work your way around until all panels have been separated – carefully working through sections to minimize the chances of damaging internal parts within your phone.
- Once completed, use isopropyl alcohol wipes to clean any glue residue from the frame edges.
Before beginning, it’s advisable to back up any important data on the phone with either iCloud, Google Drive or another cloud storage service such as Backblaze. If your insurance covers it, contacting the manufacturer is also advised – they can offer guidance if they feel cheaper solutions exist elsewhere.
Make sure your project is within your capabilities before beginning; if this is your first DIY repair attempt, start small projects to get comfortable with DIY repairs before seeking professional assistance if any complications arise.
It’s time to replace the display cable once your frame and battery are back together. To do so, locate the ribbon connector near the SIM card slot on the bottom of the phone; use needle-nose pliers to clip this wire while being careful not to bend or pinch any ribbon cable pins. After disconnecting this piece of cable, install a new screen panel. Be sure to test touchscreen functionality prior to making final repairs!
Installing the New Screen
All too frequently, smartphones take an unexpected tumble onto the ground. Although their layers of glass and plastic usually protect their screens from cracking too severely during such falls, cracks may still form, and even small ones may impair touch functionality.
It’s easier than ever to repair a cracked smartphone screen while keeping your warranty intact. Various solutions are available, from DIY hacks and third-party repair shops, as well as manufacturer mail-in programs, to get your device repaired.
If you’re ready to try a DIY fix, start by consulting step-by-step guides like those found at iFixit. This can help ensure you make no costly errors that could further harm your device. Be sure to closely adhere to instructions while selecting tools appropriate for your device.
Step one of this guide involves:
- Unfastening the screws that hold your phone’s screen to its body.
- Using either a screen-pulling suction cup or a prying tool.
- Gently unhooking it from its frame.
The next step should involve unscrewing a silver cover plate which houses ribbon cables for the fingerprint sensor home button, and ribbon connectors before clipping these to your new screen and installing them in its place.
To properly test a newly installed screen, power on your phone and check that its home page displays correctly with all colours visible. Also, swiping across its surface to test whether its touchscreen functionality works as intended.
Though replacing your broken smartphone screen on your own is possible, it is wise to carefully consider your experience level and the cost of tools needed. It would also be wise to contact a reliable repair service if further damage or time-wasting occurs attempting to do it on your own.
Reassembling the Phone
Dependent upon the complexity of the repair, you may need to disassemble other components from your phone or tablet. Usually, this involves unscrewing components like the battery, speaker and camera module using a Phillips or Torx screwdriver and tweezer before disconnecting the display cable from the motherboard and detaching the screen panel from the phone/tablet body.
Once you’ve installed a new screen, it’s time to assemble everything back together. Before beginning assembly, ensure all surfaces and connections have been cleaned using a damp, lint-free cloth – this should help eliminate toothpaste build-up or other residue accumulated on surfaces or connections.
Install a replacement screen that matches your device properly, ensuring its edges are securely adhered and that no plastic pieces protrude or become loose during assembly. For help installing, consult online tutorials and guides tailored specifically for your model.
An outdated or damaged smartphone can be an immense frustration, making apps and menus difficult to navigate, distracting you from driving, work or other activities and leading to eyestrain. Luckily, replacing its screen is a straightforward DIY project you can complete from the comfort of your own home.
If you lack the confidence to handle repairs, third-party repair stores or Apple may offer professional screen replacement services at competitive rates. Be sure to research all options available and select a provider with high-quality parts at a fair price. Refurbished phones often cost less than buying brand-new models and reduce waste and energy consumption while being environmentally friendly options. DIY project novices should start small to build skills and confidence before taking on more complicated repairs. Join DIY phone repair forums or communities for advice from more experienced individuals; this can help troubleshoot issues more efficiently while preventing mistakes that damage devices further. Lastly, be mindful of all associated risks; only attempt these repairs when ready.